 how-to
How to Verify a Mold Test: Step-by-Step Guide
Table of Contents
- Step 1: Know When a Mold Test Is Actually Warranted
- Step 2: Choose the Right Sampling Method to Verify a Mold Test
- Step 3: Collect Samples Without Making Mold Sampling Mistakes
- Step 4: DIY Mold Testing vs Professional Mold Inspection
- Step 5: Mold Test Results Interpretation and What a Lab Report Should Include
- Step 6: What to Do After a Positive Mold Test
- Frequently Asked Questions
Last Updated: October 12, 2026
Step 1: Know When a Mold Test Is Actually Warranted
A mold test is warranted when you smell a musty odor, see water stains, or have had recent water damage but cannot find visible mold growth.
A mold test does not tell you whether your home is safe, only what was in the sample you collected at that moment.
So how do you verify mold test results? You verify a mold test by checking the sample quality, the lab method, and the report itself.
Visible Mold vs. Hidden Moisture Problems
Visible mold is the easy case. You see it, you clean it, you fix the leak.
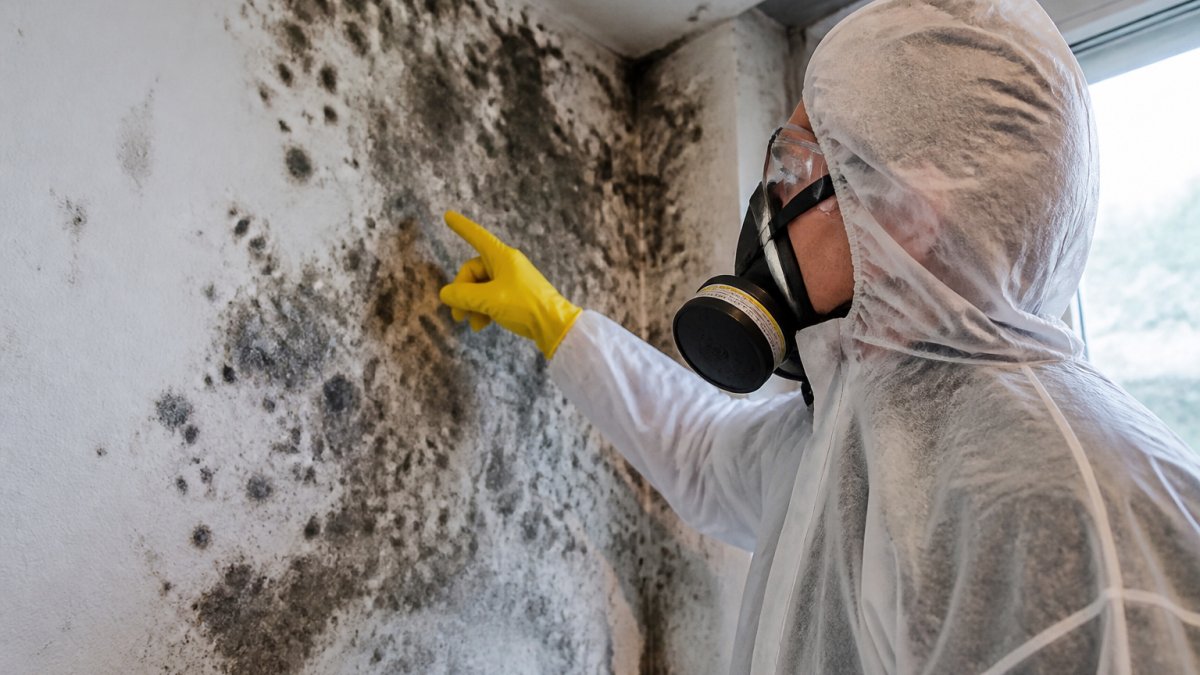
Hidden moisture is the hard case. Water sits behind drywall, under flooring, or inside a cabinet. Mold grows in that dark, wet space. You smell it before you see it.
Test only when you have a reason to suspect hidden growth:
- A musty smell with no visible source
- Past flooding or a slow leak
- A recent insurance claim or home purchase
If none apply, save your money, a test with no moisture problem behind it answers nothing.
Step 2: Choose the Right Sampling Method to Verify a Mold Test
The right sampling method depends on what you are trying to find: air sampling catches airborne spores, surface sampling catches growth on a material, and dust sampling catches long-term buildup.
Air Sampling and Airborne Spore Counts
Air sampling pulls a set volume of air through a collection device, and the lab counts the spores it captured. It works well for comparing indoor air to outdoor air or when you suspect a hidden source. Testing on a windy day or right after opening windows skews the spore count and makes the result useless.
Surface Sampling: Swabs and Tape Lifts
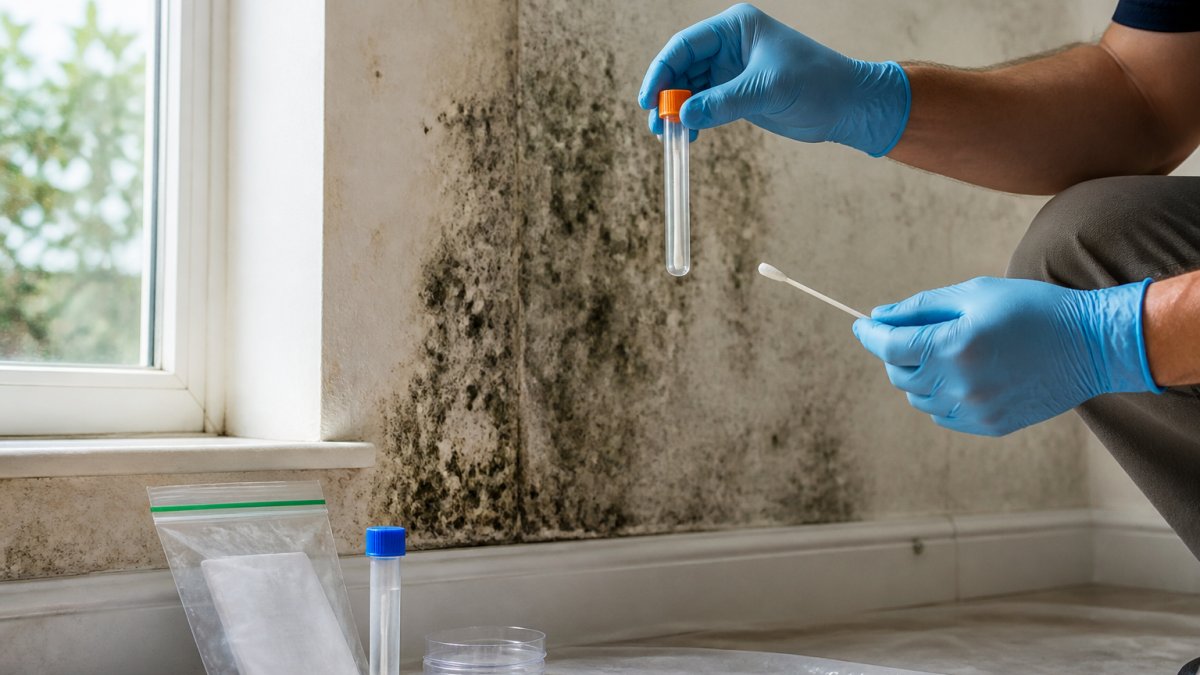
Surface sampling uses a swab or clear tape to lift material from a surface, and the lab identifies what is on it. Use a swab on irregular or porous surfaces and a tape lift on smooth, flat ones. This confirms whether a stain is mold, but not what is in the air you breathe.
Dust Sampling and DNA-Based Testing
Dust sampling collects settled dust from a surface, often an HVAC filter or windowsill, and labs run DNA-based testing to identify mold species and estimate their relative amounts. It shows what has built up over time, useful for finding a long-standing problem air sampling might miss.
According to EPA guidance on mold sampling and testing, no single sampling method gives a complete picture, and results must be read alongside a visual inspection.
Step 3: Collect Samples Without Making Mold Sampling Mistakes
Sample collection is where most tests go wrong, a perfect lab cannot fix a bad sample. Follow the kit instructions exactly; a result you cannot trace to a clean, documented sample is not fully trustworthy.
Quality Assurance: Blanks, Duplicates, and Controls
Quality assurance separates a sample from a verified sample. Three tools do most of the work:
- Field blank. An unused collection device that travels with your samples, is opened at the sampling site, then sealed and submitted unused. If the blank comes back positive, contamination occurred in handling, shipping, or the lab, and the batch should be questioned.
- Duplicate sample. Two samples collected side by side at the same location using the same method. If the results diverge wildly, sampling variability or technique error is likely.
- Outdoor baseline. A sample collected outside at the same time as your indoor samples. Without it, the lab has nothing to compare your indoor sample against, and interpretation becomes guesswork.
Most DIY kits skip blanks and duplicates, a real limitation. For stronger data, ask the lab whether you can order an extra blank or a second sample for the same location.
Chain of Custody: Documenting the Sample's Journey
A chain of custody (COC) form records everyone who handled the sample and every transfer between them. A complete COC includes:
- Sample ID and description
- Collection date, time, and exact location
- Collector's name and signature
If any link is missing, the sample's integrity is in question, which matters for a real estate transaction, insurance claim, or remediation scope.
Labeling, Sealing, and Shipping
Small handling errors cause big interpretation problems:
- Label before you sample, not after. Write the sample ID, location, date, and time on the label first, once your gloves are contaminated, you cannot safely write on anything.
- Use unique IDs. "Kitchen" is not enough. Use "Kitchen, under sink cabinet, back wall, 10 in. from floor." The lab and anyone reading the report needs to know exactly where the sample came from.
- Seal each sample individually. Use the supplied bag or container and seal it fully. Do not combine samples in one bag.
Sampling Technique Mistakes That Invalidate Results
Technique also drives accuracy:
- Sampling on a windy day or right after opening windows skews airborne spore counts.
- Sampling immediately after cleaning, vacuuming, or airing out a room removes the material you are trying to capture.
- Touching the collection surface of a swab or tape lift with your fingers contaminates it.
When to Stop and Call a Professional
Some situations are not DIY-safe. If you see more than about 10 square feet of visible mold, growth in HVAC ductwork, sewage or category 3 water intrusion, or occupants with health concerns, do not disturb the material to sample it, disturbing growth can release spores and fragments into the air. A qualified environmental professional should assess the space, and a medical professional should be consulted for health questions.
Step 4: DIY Mold Testing vs Professional Mold Inspection
DIY mold testing vs professional mold inspection comes down to what you need. A DIY kit gives you a lab result, but you collect the sample yourself, so it is only as good as your technique, and many kits skip the outdoor baseline, making the result hard to read.
| Factor | DIY Mold Test Kit | Professional Mold Inspection |
|---|---|---|
| Who collects the sample | You | Trained technician |
| Outdoor baseline included | Rarely | Yes |
| Moisture source located | No | Yes |
| Report interpretation | You | Included |
| Best for | A quick check | Confirmed problem or claim |
Step 5: Mold Test Results Interpretation and What a Lab Report Should Include
Mold test results interpretation starts with one question: does the report tell you what you need to know, and how much confidence to place in each number? A trustworthy report includes the sample locations, sampling method, mold species found, spore counts or spore equivalents, detection limit, and outdoor baseline for comparison. If any are missing, you cannot fully verify mold test results.
How to Verify That a Mold Test Result Is Reliable
Use this checklist before accepting any result, DIY or professional:
- Chain of custody form. This document tracks your sample from collection to the bench, listing who collected it, when, where, and who received it. If the form is missing or unsigned at any transfer point, the result is hard to trust.
- Laboratory accreditation. Ask which accreditation the lab holds and check that it appears on the report. Accredited labs follow documented quality systems, participate in proficiency testing, and are subject to audits. An unaccredited lab may still produce usable data, but you have no independent way to confirm its methods.
- Analytical method named. The report should state whether the lab used direct microscopy, culture plating, or a DNA-based method such as quantitative PCR (qPCR). Culture shows what can grow, microscopy shows what is present, and qPCR detects DNA from living or dead material and can be more sensitive for some species.
Understanding Detection Limits, Units, and Uncertainty
A number on a report is an estimate, not truth. Two things drive that:
- Sampling variability. Spore concentrations shift hour to hour with weather, HVAC operation, occupancy, and disturbance, so two samples taken an hour apart in the same room can differ substantially. A single sample is a snapshot, not a trend.
- Analytical uncertainty. Microscopy counts depend on the fields of view examined, culture results depend on what grew under the lab's conditions, and qPCR results depend on the assay's targets and detection limit. Each method carries its own margin of error.
A positive result alone does not establish a health risk or a building problem. Mold spores are present in essentially all indoor and outdoor air, so finding them confirms exposure, not illness, toxicity, or a hidden reservoir. A building problem requires a moisture investigation, and a health concern requires a qualified medical professional, not a lab report.
Outdoor Baseline Samples and Spore Count Comparison
The outdoor baseline is your reference point, indoor counts are read against it, not against zero.
- If indoor and outdoor counts and species profiles are similar, the indoor air is likely normal for that day.
- If indoor counts for one genus run much higher than outdoor, that points to a source inside the building.
- If a genus appears indoors that is absent or rare outdoors, that is a stronger signal than a raw count alone.
What a Report Cannot Tell You
Even a well-run lab report has limits. It cannot tell you where the mold is growing, how long it has been there, whether the moisture source is still active, or whether occupants are affected. Those questions require a visual inspection, moisture readings, and, for health concerns, a medical evaluation. Treat the report as one input, not the answer. Understanding the specific terminology and data points used to read lab reports ensures that you can accurately interpret the findings before deciding on your next steps.
Step 6: What to Do After a Positive Mold Test
What to do after a positive mold test depends on what the result shows and where the moisture is coming from.
Take these steps in order:
- Find and fix the moisture source first
- Stop the water or leak feeding the growth
- Dry the affected area completely
- Remove and clean contaminated materials
- Confirm the fix with a follow-up check
Skipping step one is the biggest waste of money: clean mold without fixing the water source, and it comes back every time.
For larger growth or contaminated building materials, professional remediation is the safer path. The CDC guidance on mold cleanup and remediation notes that porous materials with heavy growth often need removal rather than cleaning.
Frequently Asked Questions
How do you verify a mold test result is reliable?
Check three things: whether the lab is accredited, whether the report includes a chain of custody form, and whether outdoor baseline samples were collected for comparison. A reliable mold test report lists the lab's accreditation number, sampling method, date and time of collection, and spore counts by species. If any of those are missing, ask the lab to clarify before you act on the findings.
Are DIY mold test kits accurate enough to trust?
DIY kits can detect mold spores, but they have real limits. Petri dish kits grow colonies from settled spores and cannot tell you the species or the airborne concentration. They also lack chain of custody, so results carry little weight with insurers or remediators. For a quick check, a DIY kit may be useful. For a verified result you can act on, professional sampling with laboratory analysis is the better path.
What should a mold lab report include to be considered valid?
A complete report includes the lab's accreditation, sample identification numbers, collection date and location, sampling method (air, swab, tape lift, or dust), spore counts by genus, and an outdoor comparison sample. It should also state the detection limit and any uncertainty range. If the report only says 'mold present' without counts or species, it is not detailed enough to guide remediation decisions.
Does a positive mold test mean I need professional remediation?
Not always. A positive test confirms mold spores are present, but the amount, species, and moisture source determine whether remediation is needed. Small areas under 10 square feet of surface mold can often be cleaned with detergent and water. Larger areas, hidden mold behind walls, or elevated spore counts compared to outdoor baseline samples typically call for professional remediation. Address the moisture source first or mold will return.
Mold does not wait, and neither should you. If a test confirms growth in your home or business, the next step is finding and fixing the source before it spreads. Disaster Services offers free visual inspections, 24/7 emergency response, licensed and insured technicians, and full insurance claims assistance to take you from confirmed result to a safe, restored space. Contact us today to schedule your inspection and protect your health and your wallet.