 how-to
7 Steps to Residential Fire Damage Restoration in Houston
Last Updated: October 30, 2026
Quick Summary
Fire damage restoration in a Houston home starts with securing the property and confirming it is safe, then documenting all damage before anything is moved. A professional assessment, water removal, soot cleanup and deodorization follow, then salvage of contents, structural repairs and reconstruction.
- Confirm the fire department has cleared the building and shut off power at the main breaker first.
- Photograph and video every room and damaged item before removing anything.
- Water, soot and smoke must be dealt with in order, with drying completed before cleaning.
- Sort belongings into salvageable, questionable and non-salvageable groups and keep a list of disposals.
- Leave structural, electrical, gas and suspected asbestos or lead work to certified professionals.
Table of Contents
- Step 1: Secure the Property and Ensure Safety
- Step 2: Document the Damage Before Anything Is Moved
- Step 3: Professional Damage Assessment and Inspection
- Step 4: Water Removal, Soot Cleanup, and Deodorization
- Step 5: Clean and Restore Salvageable Contents
- Step 6: Structural Repairs and Reconstruction
- Fire Damage Restoration Timeline: What to Expect Week by Week
- Booking Your Restoration Assessment With Disaster Services
- Frequently Asked Questions
Step 1: Secure the Property and Ensure Safety
A house fire leaves a home unsafe long after the flames are out. Water, weakened structure and toxic smoke can all cause harm, so the first job is to protect people and stop further damage. Start by confirming the fire department has cleared the building and that the power is shut off at the main breaker. Boarding up openings and placing emergency tarps can keep out rain and looters while repairs are planned.
Health and Safety Hazards to Watch For After a Fire
Smoke and soot carry tiny particles and chemicals that irritate the lungs and eyes. Many homeowners underestimate how long these residues stay in the air and on surfaces.
Watch for these hazards:
- Ash and soot that can irritate skin and airways
- Weakened ceilings, floors and roof sections
- Standing water that may carry electrical risk
- Gas odors, which mean you should leave and call your utility company
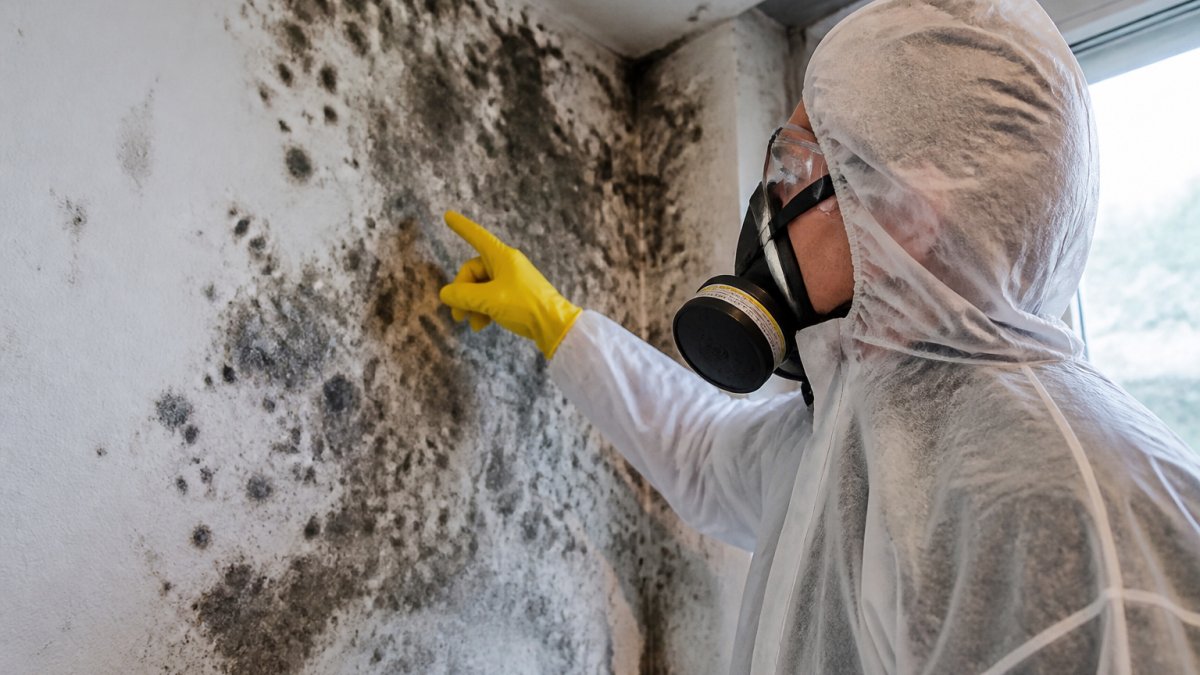
- Mold starting within 24 to 48 hours in wet materials
Wear an N95 respirator or better when you enter the home, and keep children and pets out until a professional clears the area.
Step 2: Document the Damage Before Anything Is Moved
Good documentation is the single biggest factor in a smooth insurance payout. Before you remove anything, take a full record of the damage. Photograph and video every room, every damaged item and every visible fire, smoke and water mark. Write a running list of what was lost, with the age and estimated value of each item.
Insurance Documentation Best Practices
- Keep receipts, warranties and old photos that show what you owned
- Take wide shots first, then close-ups of specific damage
- Label each photo with the room and date
- Save all emails and notes from your insurer and restoration company
- Ask your adjuster to put every agreement in writing
Disaster Services can help you organize this record so your claim is easier to file and defend.
Step 3: Professional Damage Assessment and Inspection
A certified assessor looks past the visible damage. Smoke can travel into wall cavities, HVAC ducts and insulation, where it is hard to see and harder to remove. A thorough inspection maps out each affected area and decides what can be cleaned and what must be replaced.
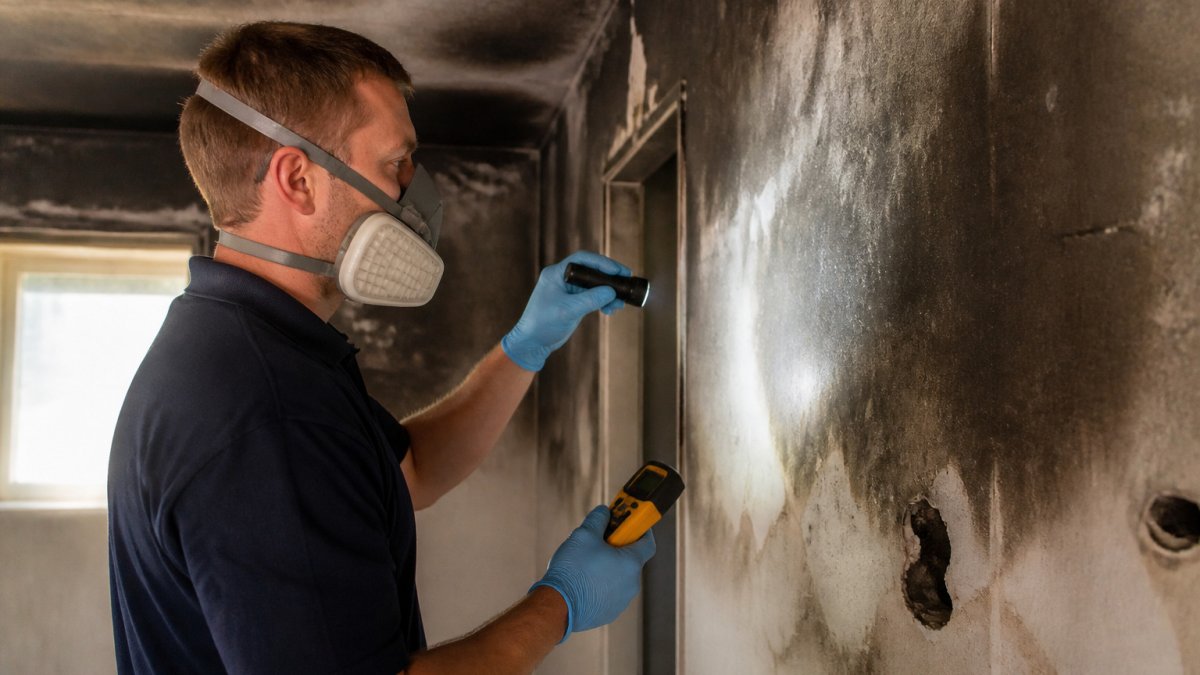
A professional assessment typically combines several methods rather than a single walkthrough:
- Visual survey room by room. The assessor photographs each affected area and notes char depth, smoke staining patterns and water lines on walls.
- Moisture mapping. Pin-type and pinless moisture meters read moisture content in drywall, framing and subfloor. Readings are recorded on a floor plan so drying progress can be tracked against a baseline.
- Thermal imaging. Infrared cameras reveal cooler, damp areas hidden behind finished surfaces, which helps find water that migrated away from the fire room.
- Air quality and residue sampling. In heavier losses, technicians may use air sampling or surface residue tests to confirm whether smoke compounds have spread into unaffected rooms through the HVAC system.
- HVAC inspection. Ductwork and the air handler are checked because smoke and soot can circulate through the system and recontaminate cleaned rooms when the heat or AC runs.
- Scope-of-loss report. The assessor produces a written scope that lists affected materials, recommended treatments and replacement items. This document is what your insurer reviews, so it should be detailed and photographed.
A free visual inspection, offered by Disaster Services, can help you understand the scope before any work begins.
DIY vs. Professional Scope: What Homeowners Can and Cannot Handle
The line between safe homeowner tasks and professional-only work is often clearer than homeowners expect. Some tasks are safe for a homeowner. Others need trained crews and specialized equipment.
Reasonable to do yourself:
- Removing personal items from unaffected rooms
- Moving furniture out of the way for the crew
- Taking photos and keeping records
- Opening windows for ventilation once the fire department has cleared the building
- Keeping a written inventory of items you remove
Leave to professionals:
- Structural assessment and repairs
- Smoke and soot removal from HVAC systems
- Electrical and gas system work
- Hazardous material handling, including suspected asbestos or lead paint in older homes
- Moisture mapping and drying verification
- Any work that requires a permit
A practical rule of thumb: if the task involves opening a wall, touching wiring or gas lines, entering a room with standing water near outlets, or handling debris from a home built before the late 1970s, stop and call a certified technician. Older homes are more likely to contain asbestos-containing materials and lead-based paint, and disturbing either during cleanup can create a health hazard that outlasts the fire itself.
Step 4: Water Removal, Soot Cleanup, and Deodorization
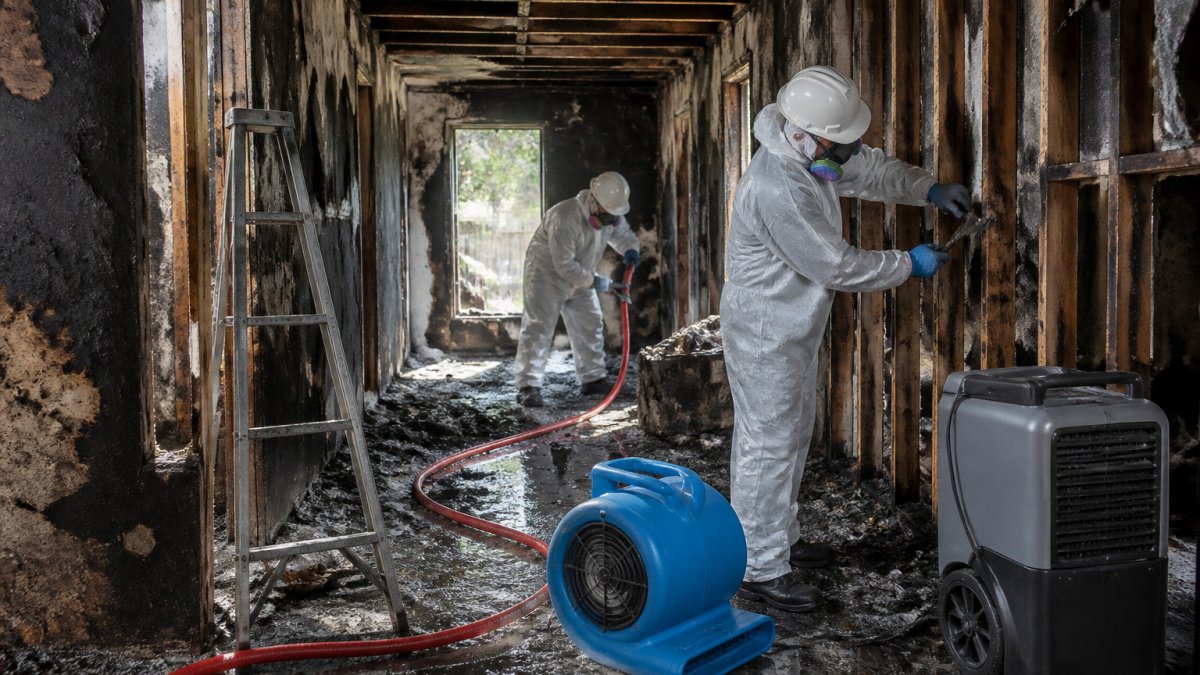
Fire fighting leaves water behind, and that water spreads soot and smoke residue across the house. This stage has four distinct jobs that must happen in order: water extraction, structural drying, soot and smoke cleanup, and deodorization. Skipping ahead to cleaning before materials are dry traps moisture and odor in place.
Water Extraction and Structural Drying
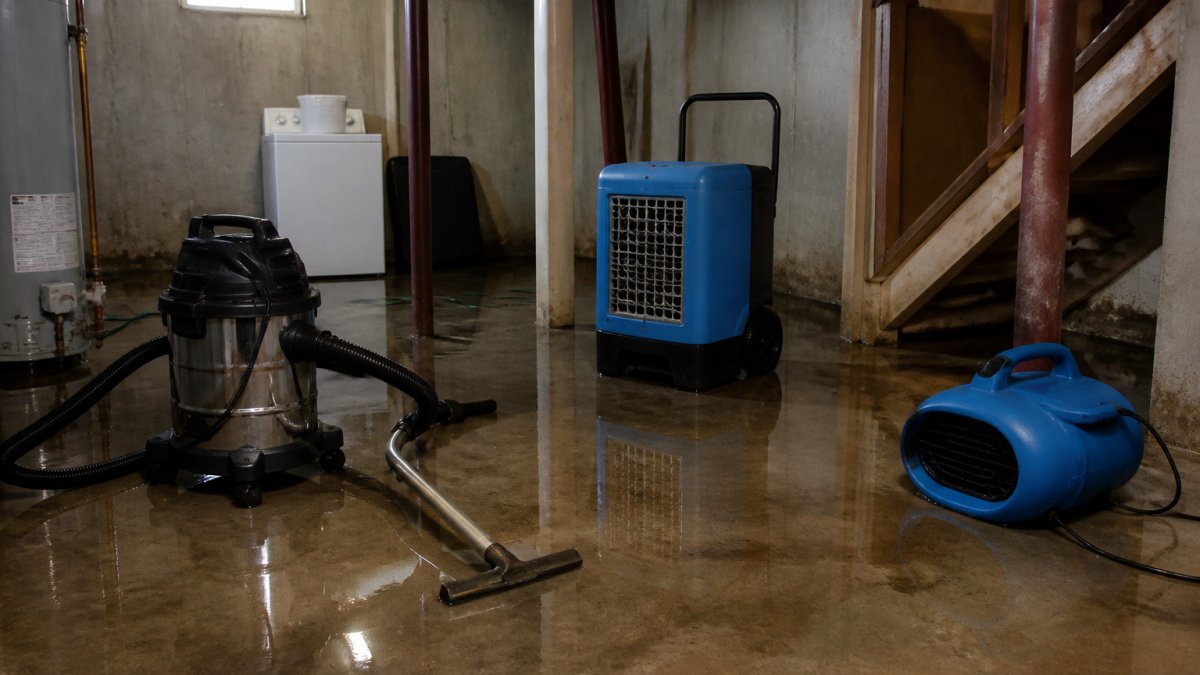
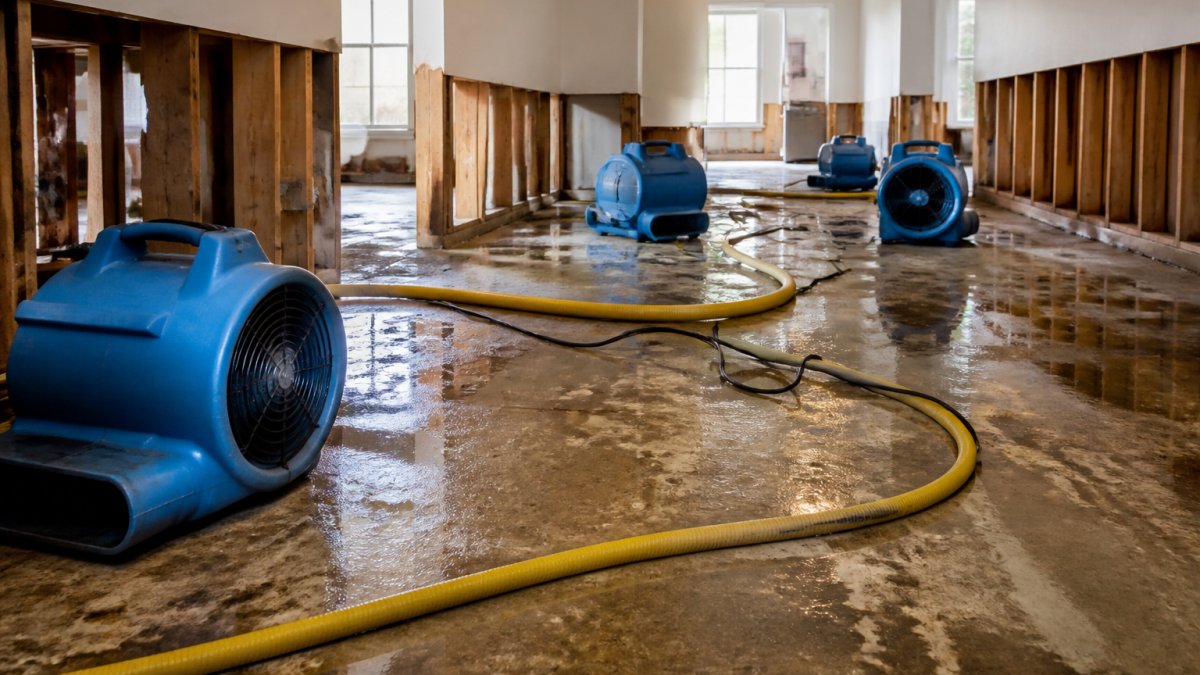
Standing water is removed first with truck-mounted or portable wet vacuums and extraction wands. Once standing water is gone, technicians place industrial air movers and dehumidifiers to pull moisture out of drywall, framing, subfloor and carpet. Drying is monitored with moisture meters and thermal imaging until readings return to a normal baseline for the material.
Porous materials that cannot be dried in place, such as saturated carpet padding, ceiling tiles and some insulation, are typically removed and discarded rather than dried.
Soot and Smoke Cleanup
Soot is not uniform. It varies by what burned and how hot the fire was:
- Dry soot from fast-burning materials is easier to vacuum with HEPA equipment.
- Wet or oily soot from slow-burning or synthetic materials smears easily and needs chemical sponges and specialized cleaners.
- Protein residue from kitchen fires leaves a nearly invisible film that traps odor and requires enzyme-based cleaners.
Soot cleanup is matched to the surface, and surfaces where staining cannot be fully removed may be sealed or repainted. You can learn about a dedicated fire, smoke and soot damage restoration service for homes.
Deodorization
Smoke odor is the complaint homeowners raise most often. Surface cleaning alone rarely fixes it, because smoke gets into porous materials. Effective deodorization often uses one or more of these methods:
- Thermal fogging, which vaporizes a deodorizing agent so it penetrates the same cavities smoke reached.
- Hydroxyl generators or ozone treatment, which break down odor-causing molecules. Ozone requires the space to be vacated during treatment and ventilated afterward.
- Air scrubbers with HEPA and carbon filtration, which run continuously during drying and cleaning to capture particles and odor compounds.
- Sealing affected surfaces, which locks residual odor into materials that cannot be cleaned.
Deodorization is typically confirmed by smell and, in some cases, by air quality testing before the job is considered complete.
Disaster Services provides fire and smoke damage restoration.
Step 5: Clean and Restore Salvageable Contents
Not everything in the house has to be thrown out. Clothing, furniture, dishes and electronics can often be cleaned and restored. Items affected by heat, chemicals or long exposure to smoke may not be salvageable.
Sort your belongings into three groups:
- Salvageable: clean and restore
- Questionable: have a professional evaluate
- Non-salvageable: document and discard
Keep a list of everything you dispose of, since your insurer will ask for it.
Step 6: Structural Repairs and Reconstruction
Once the area is cleaned and dry, rebuilding begins. This can include replacing drywall, framing, insulation, flooring, roofing and electrical wiring. Reconstruction must meet local building codes, and permits may be required for structural work.
Mold can appear in damp materials that were not removed in time. Any sign of mold should be treated by a remediation specialist before rebuilding. Disaster Services provides professional mold remediation.
Fire Damage Restoration Timeline: What to Expect Week by Week
Most residential fire damage restoration projects take several weeks to several months, depending on the severity of the damage. Here is a general outline:
| Week | Main Work | What You Will See |
|---|---|---|
| Week 1 | Securing, inspection, water removal | Tarps, drying equipment, initial assessment |
| Week 2 | Soot and smoke cleanup, deodorization | Cleaned surfaces, odor treatment |
| Weeks 3-4 | Contents cleaning, demolition of unsalvageable materials | Sorted belongings, open walls |
| Weeks 5-8 | Structural repairs and reconstruction | Framing, drywall, finishes |
| Weeks 8+ | Final inspection and handover | Completed rebuild, final walkthrough |
Timelines vary with the size of the loss and how quickly insurance decisions are made.
Frequently Asked Questions
How long does fire damage restoration take?
Most residential projects take several weeks to a few months, depending on the damage. Major structural rebuilding can take longer. Your restoration company can give a more specific estimate after inspection.
Will my insurance cover fire damage cleanup?
Coverage depends on your individual policy terms and deductible. Document everything and ask your insurer to confirm coverage in writing.
Can I stay in my home during restoration?
It depends on the extent of the damage. Homes with significant smoke, structural issues or unsafe air quality often need temporary housing while the work is done.
Booking Your Restoration Assessment With Disaster Services
Fire damage is stressful, and every hour of delay can make the damage worse. Disaster Services is available 24/7 for emergency response and offers a free visual inspection. Our team handles water extraction, fire and smoke damage restoration, structural drying and professional mold remediation, and we can help you navigate your insurance claim.
We are a locally owned and operated team with licensed and insured technicians. Contact us today to schedule your assessment and start the path back to a safe, restored home.
Frequently Asked Questions
What are the steps in residential fire damage restoration?
Residential fire damage restoration generally follows six stages: securing the property and confirming it is safe to enter, documenting damage for your insurer, a professional assessment, removing water and cleaning soot, restoring salvageable contents, and then structural repairs and rebuilding. Each stage depends on the one before it, so skipping documentation or drying can create problems like mold and hidden odor later. Disaster Services can walk you through the sequence and provide a free visual inspection to show what your home needs first.
What should I do first after a house fire?
Leave the home once the fire department clears it, and do not re-enter until a professional confirms the structure is safe. Photograph the damage from the outside, call your insurance company to open a claim, and contact a restoration company that offers 24/7 emergency response. Avoid touching charred materials or running HVAC systems, since both can spread soot. Keep receipts for any emergency expenses such as hotel stays, because your policy may reimburse them.
Does homeowners insurance cover fire damage restoration?
Most standard homeowners policies cover fire and smoke damage to the dwelling and personal property, subject to your deductible and policy limits. Coverage for cleanup, odor removal, and contents restoration varies by policy, so review your declarations page and ask your adjuster specifically about each item. Keep detailed photos, an inventory of damaged belongings, and copies of all estimates. Disaster Services provides insurance claims assistance and can help organize the documentation your adjuster will request.
How long does it take to restore a fire-damaged home?
Timelines vary with the size of the fire, the extent of structural damage, and how quickly work begins. Timelines depend on the scope of work and the claim process. Delays in permits, material availability, and insurance approvals also affect the schedule. Ask your restoration provider for a written timeline with milestones so you can track progress against it.