 how-to
How to Dry Wet Walls Fast: Step-by-Step Guide
Table of Contents
- Safety Checks and Finding the Moisture Source Before You Dry
- How to Get Moisture Out of Walls: A Prioritized Fast-Drying Procedure
- Using a Dehumidifier to Dry Damp Walls Effectively
- How Long Walls Take to Dry After Water Damage
- How to Dry a Damp Brick Wall Without Causing Damage
- Material-Specific Drying: Plaster, Drywall, and Painted Surfaces
- Mold, Hidden Dampness, and When to Call a Professional
- Frequently Asked Questions
Last Updated: October 5, 2026
Safety Checks and Finding the Moisture Source Before You Dry
Before you plug in a single fan to dry wet walls, you need to know two things: that the room is safe, and where the water came from.
If you dry a wall while the moisture source is still active, you are chasing your tail: you pull surface moisture out, the wall looks dry, then damp patches return a week later.
Electrical and Structural Safety First
Water and electricity do not mix. Shut off power to the affected area at the breaker box before you touch anything. If you cannot reach the breaker safely, or water is near the panel, call an electrician or restoration team first.
- Cut power to the wet room at the breaker
- Check for sagging ceilings or bulging drywall
- Look for cracks in the foundation or wall base
If a ceiling looks bowed or a wall feels soft and spongy, stop. That is a structural problem, not a drying problem, and a licensed technician should assess it first.
Contaminated Water: A Separate Safety Tier
Not all water damage is the same. The restoration industry separates water into three categories, and the category changes what you can do yourself:
- Category 1 (clean water): a burst supply line, a failed ice maker hose, or rainwater that has not touched a contaminated surface. Safe to dry with DIY equipment if you start within about 24 to 48 hours.
- Category 2 (gray water): washing machine discharge, dishwasher overflow, or toilet bowl water without solid waste. Contains some contamination. Wear gloves and eye protection, and treat the area as a biohazard.
- Category 3 (black water): sewage backup, toilet water with solid waste, ground surface water, or any water that has sat long enough to grow bacteria. Do not dry this yourself. Porous materials like drywall, carpet, and insulation usually have to be removed and discarded, not dried.
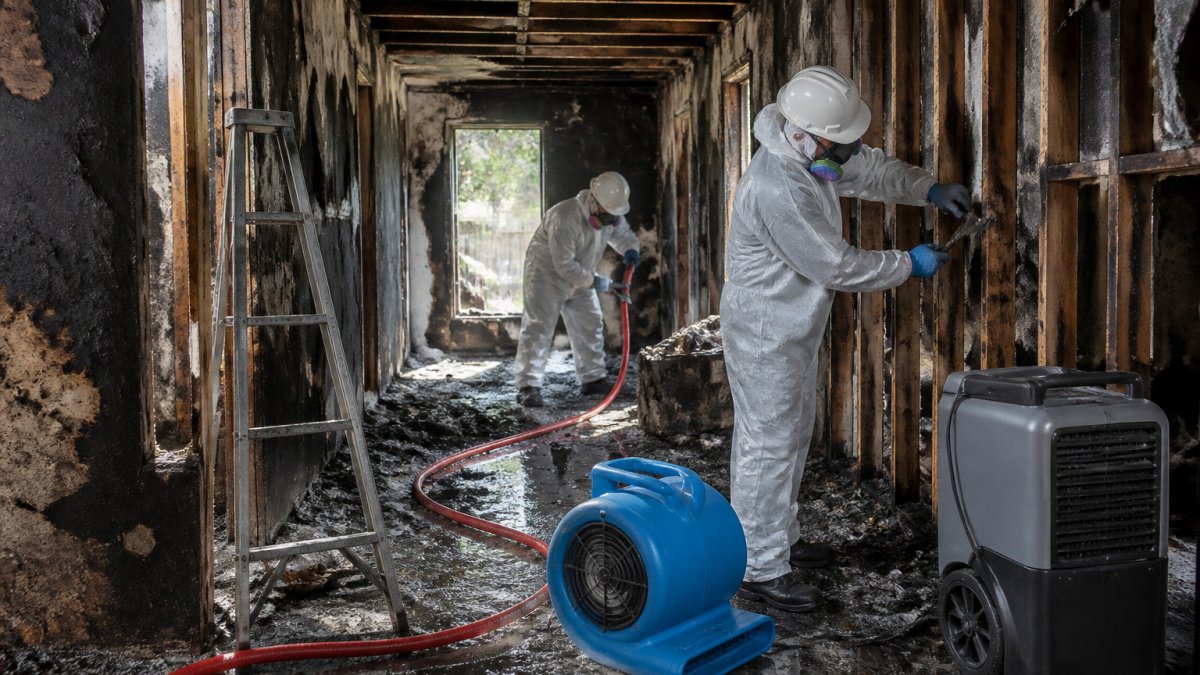
If the water is Category 2 or 3, your priority shifts from drying fast to protecting your health: nitrile gloves, eye protection, an N95 or better respirator, boots, and a call to a remediation team. Drying Category 3 water in place spreads contamination through the air.
Diagnosing Where the Water Came From
Finding the moisture source decides whether your drying works. Water gets into walls in a few common ways, each needing a different fix.
Step 1, Is the source active right now?
- Dry the wall surface with a towel, wait 12 to 24 hours with no equipment running, and recheck. If the wall is wet again, the source is still active. Stop and fix the source.
- If the wall stays dry after that wait, the moisture is residual and you can move to drying.
Step 2, Match the pattern to the cause.
- Water leak (plumbing): a burst pipe, failed supply line, or appliance hose. Look for a sharp wet boundary, a wet ceiling below a bathroom, or water that appears only when a fixture runs. The fix is plumbing, not drying.
- Rising damp: groundwater creeping up through the foundation. Shows as a low tide line within the first few feet of the wall, often with a white powdery salt deposit (efflorescence) and a musty smell near the floor. The fix is a damp-proof course or exterior drainage, not a fan.
- Penetrating damp: rain forced through cracks, siding, or bad flashing. Appears high on the wall, on the windward side of the house, or around windows and chimneys after heavy rain. The fix is exterior sealing and flashing repair.
Step 3, Confirm with a moisture meter before you commit to a method.
A pin-type moisture meter reads roughly 0.1 to 0.3 inches into the surface; a pinless meter reads deeper but is less precise on textured walls.
When to Stop Diagnosing and Call a Pro
Some patterns mean the job is beyond DIY:
- Water appears only when a specific fixture runs, or the meter climbs while nothing is running
- The wet area grows between readings taken 24 hours apart
- The wall is wet above the ceiling line, or a ceiling below a bathroom is stained
In any of those cases, the fastest path to a dry wall is a professional assessment, not more equipment.
How to Get Moisture Out of Walls: A Prioritized Fast-Drying Procedure
The fastest way to get moisture out of walls is to work in order: remove standing water, then ventilate, then push air and gentle heat. Skipping a step slows everything down.
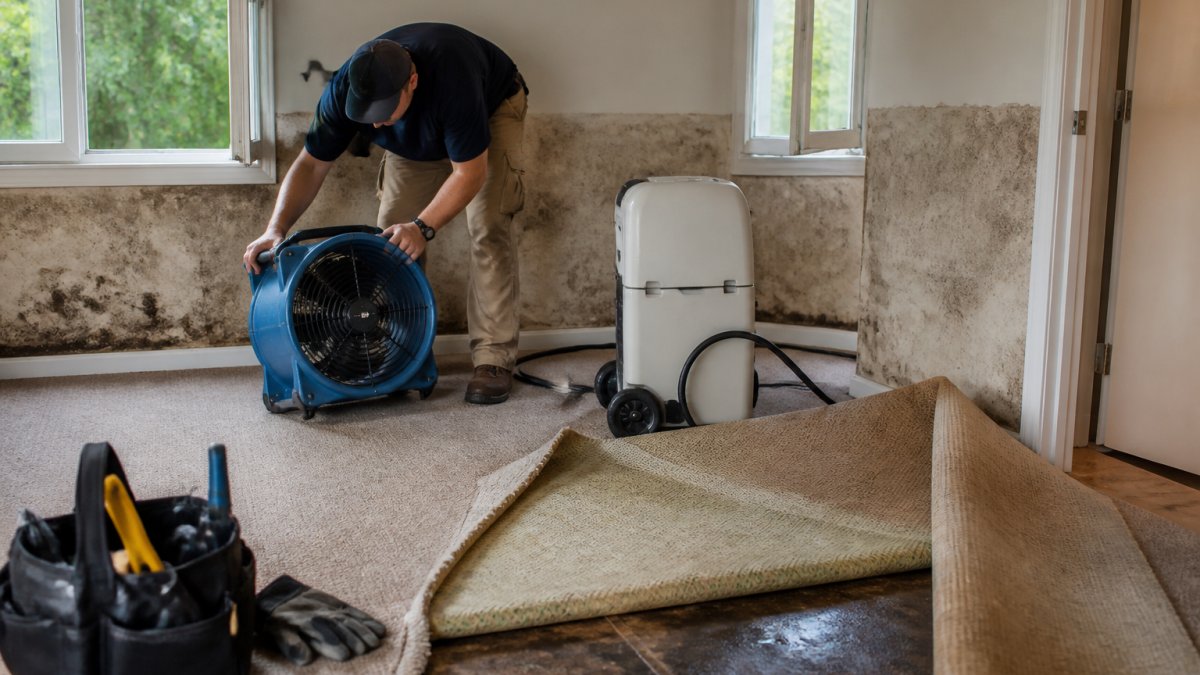
Step 1: Remove Standing Water and Wet Belongings
Get standing water out first. Water on the floor keeps feeding humidity into the air, which keeps soaking back into the walls. For deeper water, a pump or professional water removal is the only realistic option.
Then clear the room. Pull back wet carpet, move furniture off the damp wall, and take out soaked boxes, rugs, and clothing. Every wet item left in the room slows the dry-down.
Step 2: Open Windows and Set Up Cross-Ventilation
Open windows on opposite sides of the room to create cross-ventilation, which carries humid air out and pulls drier air in. Opening windows in bursts works far better than leaving one window cracked.
- Open two windows on opposite walls for cross-flow
- Open interior doors to connect the room to the rest of the house
- Run this during dry, mild weather, not during rain or high humidity
If it is raining or muggy outside, keep the windows shut and lean on your dehumidifier instead. Pulling in wet outside air defeats the whole point.
Step 3: Position Fans and Apply Gentle Heat
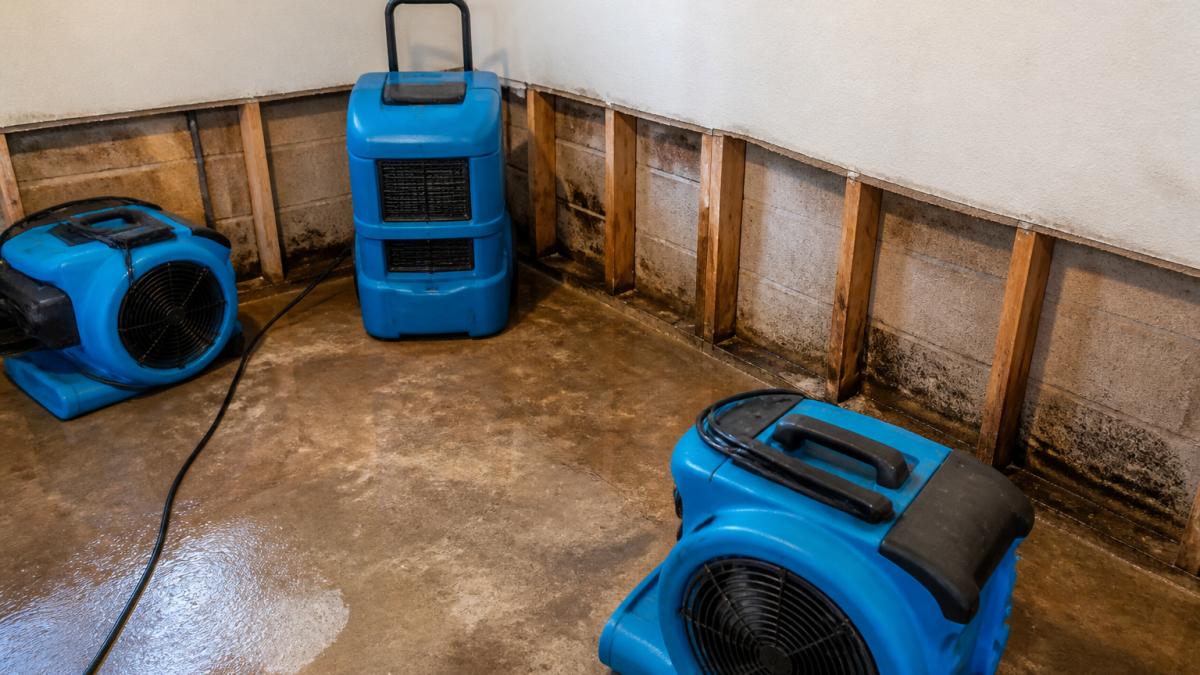
Now add moving air. Point a room fan at the wet wall at a slight angle so air skims across the surface. Airflow speeds evaporation more than heat does, so fans come first.
Warm air holds more moisture than cool air, so gentle heat helps too. A space heater set low, or normal room heating, raises the wall temperature and speeds evaporation. Keep heat gentle.
Using a Dehumidifier to Dry Damp Walls Effectively
A dehumidifier pulls moisture out of the air so it cannot soak back into the wall. Using a dehumidifier to dry damp walls is one of the most effective steps you can take, but only if you size and place it right.
Choosing the Right Size Dehumidifier
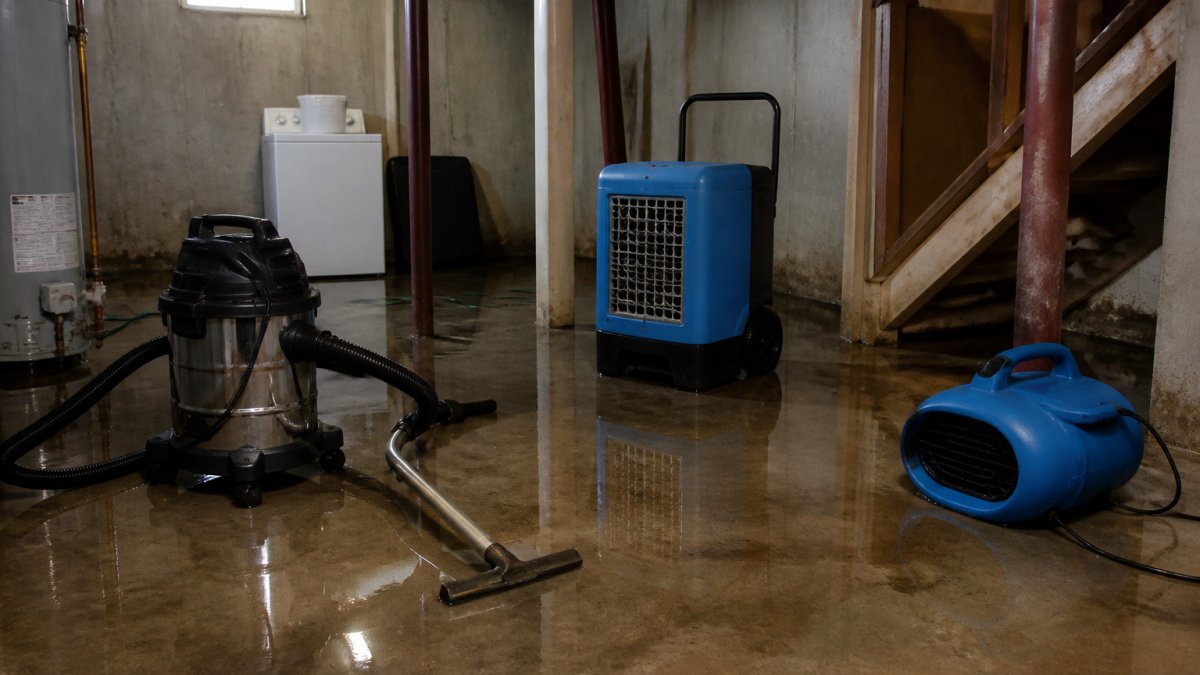
For a single damp room, a small to mid-size unit usually handles the job. For a whole floor, a flooded basement, or damage across several rooms, you need a large dehumidifier. A unit that is too small will run nonstop and never catch up.
Match the unit to the space:
| Situation | Dehumidifier Size | Notes |
|---|---|---|
| One small room, light damp | Small unit | Empty the tank often |
| One large room or garage | Mid-size unit | Look for a hose drain option |
| Basement or multiple rooms | Large dehumidifier | Best for serious water damage |
Placement and Running Tips for Maximum Moisture Removal
Place the dehumidifier in the center of the room, away from walls and furniture. Air needs to circulate around it. Close the windows while it runs, or you are pulling in fresh humid air faster than the unit can dry it.
- Run it continuously until the wall reads dry
- Empty the tank or connect a drain hose so it never shuts off
- Keep interior doors closed to isolate the space
How Long Walls Take to Dry After Water Damage
How long walls take to dry after water damage depends on the material, the water source, and how fast you start. But the more useful question is not "how many days", it is "how do I know when it is actually done?" A wall that looks and feels dry can still hold enough moisture to grow mold or blister paint.
Typical Timelines by Material and Condition
Most walls dry within a few days to a couple of weeks. Drywall and plaster dry faster than brick or concrete. Good airflow and low humidity shorten the timeline; cold, damp weather stretches it out.
| Material | Typical Drying Time | Key Factor |
|---|---|---|
| Drywall (surface wet) | 2-3 days | Fast airflow |
| Plaster | 5-10 days | Thick material holds water |
| Brick or concrete | 1-3 weeks | Slow release of moisture inside the wall |
| Painted surfaces | Depends on what is behind | Paint can trap moisture |
Those ranges assume you have already stopped the source and are running airflow plus dehumidification. If the source is still active, no timeline applies, the wall will not dry.
How to Confirm the Wall Is Completely Dry
Do not trust your hand. A wall can feel dry on the surface while holding moisture inside. Use a moisture meter to check surface and internal moisture, and compare readings to a dry section of the same wall.
A practical protocol:
- Establish a baseline. Take readings on a known-dry interior wall of the same material, ideally in the same room. That number is your target.
- Map the wet area. Take readings every 12 to 24 inches across the wet zone and mark them on a sketch or with painter's tape. This gives you a map, not a single data point.
- Track the trend, not the number. A wall that reads 18% today and 14% tomorrow is drying. A wall that reads 18% today and 18% tomorrow is stalled, check the source, airflow, or dehumidifier capacity.
- Recheck after 24 hours of no equipment. Once readings match the baseline, turn everything off and wait a full day. If readings hold steady, the wall is dry. If they climb, moisture is still feeding in from somewhere.
For a more precise check on thick masonry or behind tile, a pinless meter or a thermo-hygrometer measuring relative humidity inside a sealed plastic tent taped to the wall can reveal moisture the surface reading misses.
When the Wall Is Dry Enough to Repair or Repaint
Repairing too early traps moisture and guarantees a redo. Use these gates:
- Drywall: patch and paint only after the meter reads at baseline for 24 hours and the paper face is firm, not soft or crumbly. If the drywall crumbles when you press it, it has lost structural integrity and the section should be cut out and replaced.
- Plaster: wait until the meter holds at baseline for 48 hours. Plaster releases moisture slowly, and painting over damp plaster causes bubbling and peeling.
- Brick and masonry: wait until readings hold at baseline for several days. Sealing or painting a masonry wall that still holds moisture traps water and drives it toward the interior, where it can damage framing.
What Slows Drying Down
If your wall is not hitting the timeline, one of these is usually the cause:
- The source is still active. The most common reason. Recheck with the 12-to-24-hour dry-and-wait test.
- The dehumidifier is undersized or the tank is full. A unit that shuts off overnight is not drying anything.
- Windows are open during humid weather. You are pulling moisture in faster than the equipment removes it.
How to Dry a Damp Brick Wall Without Causing Damage
Brick and masonry release moisture slowly, so they need patience.
Never blast a brick wall with high heat. Rapid drying can cause the surface to spall, where flakes of brick pop off.
- Run fans and a dehumidifier for longer than you would for drywall
- Avoid sealing or painting the wall until it is fully dry
- Fix the source first, especially for rising damp
Chemical-free drying, including infrared drying panels, works well on masonry because it heats the wall from the inside out. These are slower but gentler than high-heat methods.
Material-Specific Drying: Plaster, Drywall, and Painted Surfaces
Different materials fail in different ways, so your method should change with the surface.
Drywall is the fastest to dry but the easiest to ruin.
Plaster is denser and holds water longer. It dries slowly but survives better than drywall if you catch it early.
Painted surfaces hide moisture. Flaking paint or bubbling usually means water is trapped behind it.
Match your drying method to the material. Fast and hot works for drywall. Slow and gentle is safer for brick, plaster, and painted walls.
Mold, Hidden Dampness, and When to Call a Professional
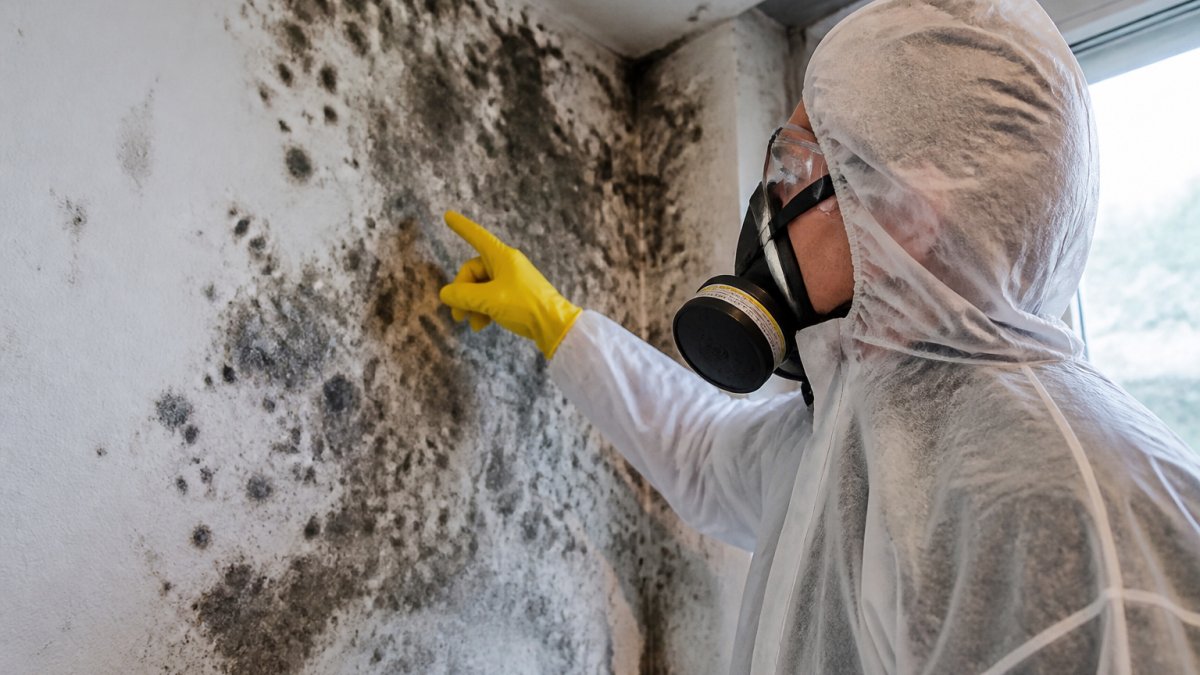
Mold can start growing within a day or two of water damage, often before walls even look dry. Hidden dampness behind cabinets, baseboards, and paint is the most common reason DIY drying fails.
Call a professional when:
- The water came from a leak you cannot find or stop
- More than one room or a large area is affected
- You see or smell mold
Disaster Services provides 24/7 emergency response across the Greater Houston area. Our licensed and insured technicians handle water extraction, structural drying, and mold remediation, and we help with your insurance claim from start to finish.
Frequently Asked Questions
How do you get moisture out of walls?
Start by finding and stopping the water source, then remove standing water and wet belongings. Open windows for cross-ventilation and set up box fans or air movers pointed at the wet surface. Run a large dehumidifier to pull moisture from the air so evaporation continues. Gentle heat speeds the process. Depending on the material and how long it stayed wet, walls typically take 2 to 3 days with fast action, or 5 to 10 days if water soaked deeper into plaster or brick.
Can a dehumidifier dry wet walls on its own?
A dehumidifier helps, but it works best alongside airflow and ventilation. Using a dehumidifier to dry damp walls means running a properly sized unit, usually a large dehumidifier for whole rooms, while fans keep air moving across the wet surface. Close windows while the dehumidifier runs so it is not pulling in humid outdoor air. Empty the tank or connect a hose, and keep the unit running continuously until a moisture meter shows the wall is dry.
How can you tell when a wall is completely dry?
Surface touch is not reliable. Use a pin-type or pinless moisture meter to check moisture inside the wall at several depths and spots. Compare readings to a dry reference area of the same material. Also watch for signs like flaking paint, musty smells, or dark patches that suggest hidden dampness. If readings stay high after several days of drying, the moisture source may still be active or water may be trapped behind the surface.
When should you call a water damage restoration professional?
Call a professional if water came from a leak inside the wall, if the wall has been wet longer than 48 hours, if you see mold growth, or if the affected area is larger than about 10 square feet. Pros use moisture meters, thermal imaging, and drying equipment like air movers and large dehumidifiers to dry walls completely and prevent mold. They can also help document damage for your insurance claim and handle hidden moisture you cannot see.
Drying wet walls fast is a race against mold, and the clock starts the moment water hits. If the source is unclear, the damage is widespread, or the wall will not dry, the fastest path is a team that does this every day. Disaster Services offers 24/7 emergency response, a free visual inspection, and full insurance claims assistance to take the stress off your plate. Contact us today and let our licensed and insured team get your walls dry and your home back to normal.