 how-to
Prevent Mold After Water Damage: 7 Essential Steps
Table of Contents
- Act Within 24-48 Hours: Why Speed Matters for Mold Prevention
- How Long Does It Take for Mold to Grow After Water Damage
- Step 1: Remove Standing Water With Professional Water Extraction Services
- Step 2: Dry Structural Materials and Control Humidity Levels
- Step 3: Clean and Disinfect All Affected Surfaces
- Step 4: Identify Signs of Mold Growth Behind Walls
- Step 5: Improve Ventilation and Prevent Recurrence
- When to Call Professional Mold Remediation Services
- Frequently Asked Questions
Last Updated: September 20, 2026
Act Within 24-48 Hours: Why Speed Matters for Mold Prevention
The window to prevent mold after water damage is narrow. Mold spores begin germinating within 24 to 48 hours of water exposure. Once they start growing, remediation becomes exponentially harder and more expensive.
Speed is not just about convenience, it's about stopping mold before it takes hold. When water sits, humidity rises. When humidity stays high, mold thrives. The first two days are critical. This is when you can still stop the process before mold colonies establish themselves behind walls, in insulation, and under flooring.
Most homeowners don't realize how fast mold moves. By day three, you may already have visible growth on porous materials. By week one, the damage can be severe enough to require structural removal. The cost difference between addressing water damage immediately and waiting can be significant.
How Long Does It Take for Mold to Grow After Water Damage
Mold can begin growing within 24 to 48 hours of water exposure. The exact timeline depends on temperature, humidity, and the type of material affected. Porous materials like drywall, carpet, and insulation are especially vulnerable because water soaks deep into the fibers, creating the perfect environment for fungal growth.
Here's what happens in the critical first week:
- Hours 0-24: Water soaks into porous materials. Humidity spikes. Mold spores are present but not yet visible.
- Hours 24-48: Mold begins germinating on wet surfaces. You may not see it yet, but colonies are forming.
- Days 3-5: Visible mold growth appears on surfaces. The smell becomes noticeable, a musty, earthy odor.
- Days 6-7: Mold spreads deeper into materials. Structural integrity may be compromised.
The speed accelerates if conditions are warm (above 70°F) and humid (above 50% relative humidity). Cold water damage in winter may slow growth slightly, but it doesn't stop it. The moisture is still there, and as soon as temperatures rise, mold explodes.
Step 1: Remove Standing Water With Professional Water Extraction Services
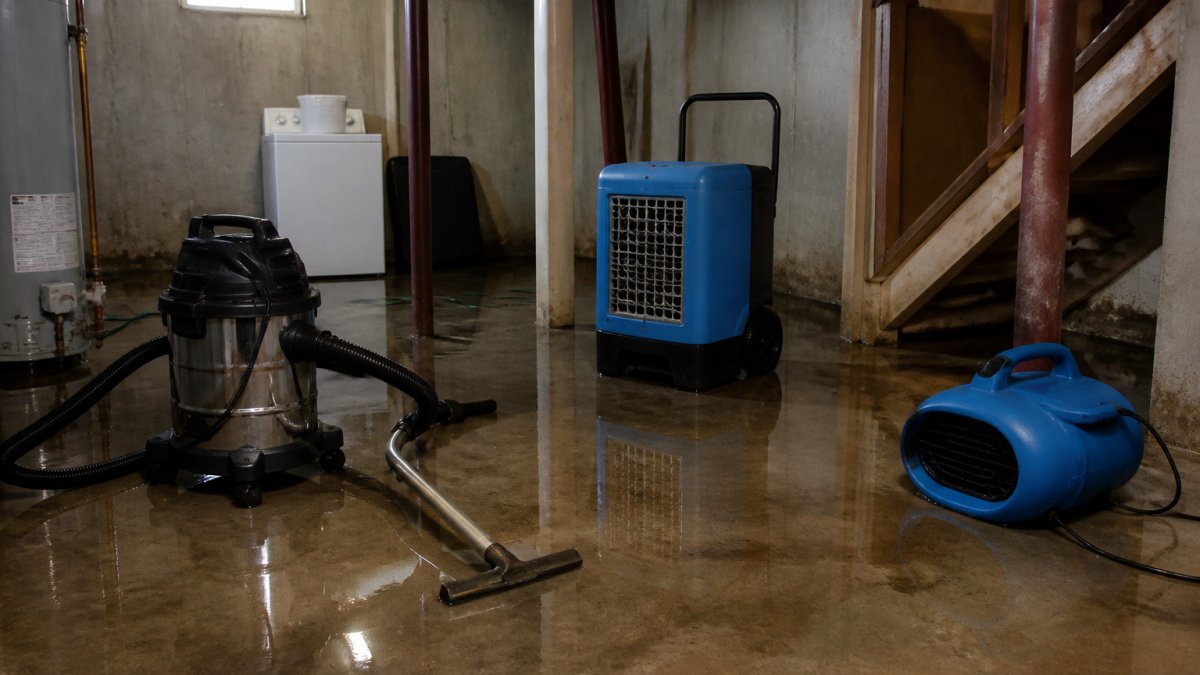
Standing water must be removed immediately. This is not a job for a wet-dry vacuum or a mop. Professional water extraction services use industrial-grade pumps and extraction equipment to remove water from floors, subfloors, and crawl spaces. The goal is to get moisture out of the home completely, not just off the surface.
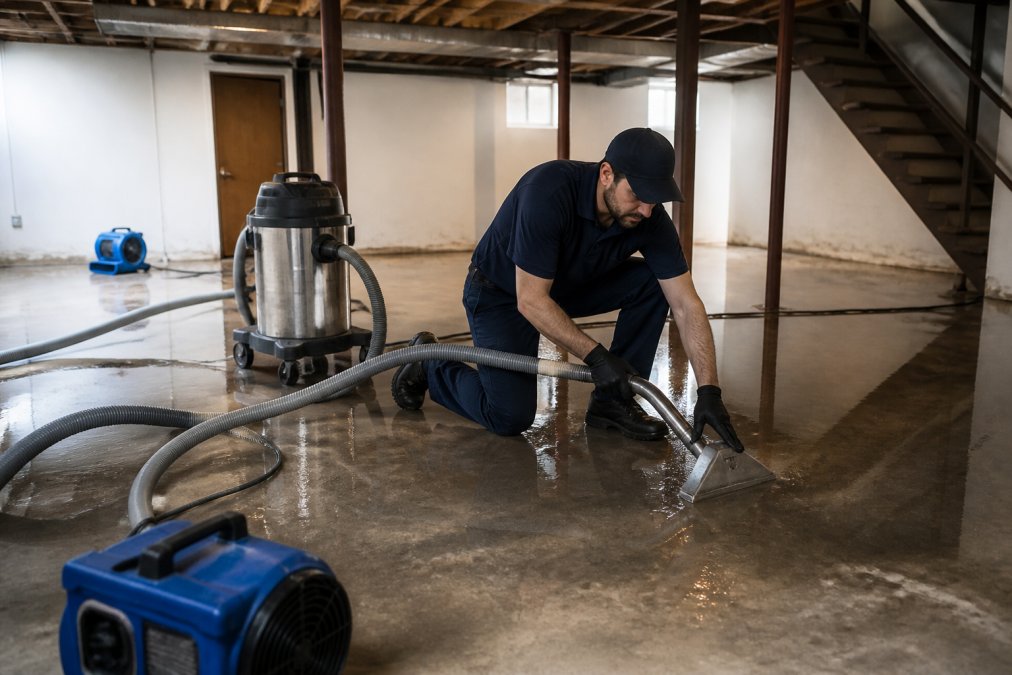
Standing water hides moisture in places you can't see. It soaks into subfloor materials, concrete, and foundation walls. Even after you pump out the visible water, moisture remains trapped in structural materials. This hidden moisture is what feeds mold growth.
Professional extraction equipment removes water from:
- Carpeting and padding
- Hardwood and laminate flooring
- Concrete and tile surfaces
- Subfloor cavities
- Crawl spaces and basements
- Behind walls and under baseboards
Disaster Services uses industrial-grade extraction systems and portable pumps to handle any volume of water. The faster you remove standing water, the less time moisture has to penetrate deep into materials. This is your first line of defense against mold.
Step 2: Dry Structural Materials and Control Humidity Levels
Once standing water is removed, the real battle begins: drying. Structural materials like drywall, framing, and insulation must be dried completely. Partial drying is dangerous, it slows mold growth but doesn't stop it. You need to bring moisture content down to safe levels, typically below 15% for most materials.
Drying requires two things: removing moisture from the air and promoting evaporation from materials. This is where dehumidifiers and air circulation become essential.
Using Dehumidifiers and Air Circulation
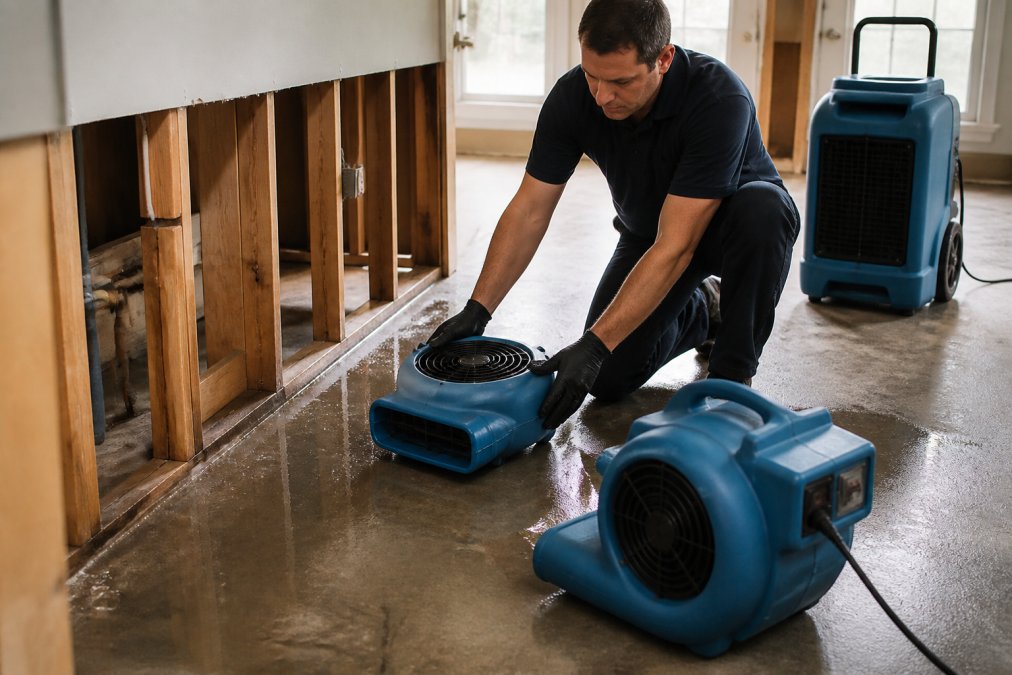
Dehumidifiers pull moisture out of the air. As humidity drops, water evaporates faster from wet materials. Air circulation moves dry air across wet surfaces, accelerating the drying process. Together, they create an environment where mold cannot grow.
The setup matters. You need enough dehumidifier capacity for your space. A small home unit won't handle a basement full of wet materials. Professional-grade dehumidifiers remove dozens of gallons of water per day. They work continuously, 24/7, until moisture levels stabilize.
Air circulation should come from multiple sources:
- Open windows and doors (if weather permits)
- Portable fans positioned to move air across wet materials
- HVAC system running continuously
- Dehumidifier exhaust venting to the outside
The combination creates airflow that prevents stagnant, humid pockets where mold thrives.
Measuring Moisture Content in Porous Materials
You can't dry what you can't measure. A moisture meter tells you exactly how much water is trapped in structural materials. This is critical because you can't see moisture inside drywall or behind baseboards. A meter shows you which areas are still wet and which have dried.
Moisture readings tell you:
-
Which materials need continued drying
-
When it's safe to close walls back up
-
Whether mold risk is still present
-
When dehumidification can stop
-
Drywall: below 13%
-
Wood framing: below 20%
-
Concrete: below 15%
-
Insulation: completely dry (any moisture is risky)
Step 3: Clean and Disinfect All Affected Surfaces
Once materials are dry, cleaning removes mold spores and mold food sources. Water damage leaves behind dirt, sediment, and organic material that feeds mold. Cleaning eliminates these food sources and removes any mold that has started to grow.
Affected surfaces should be cleaned with:
- Detergent and water for general cleaning
- Antimicrobial or biocide solutions for mold prevention
- Disinfectants to kill remaining spores
Areas to clean include:
- All surfaces that contacted water
- Baseboards and trim
- Under flooring if accessible
- HVAC ducts and returns
- Crawl spaces and attic areas if water reached them
Step 4: Identify Signs of Mold Growth Behind Walls
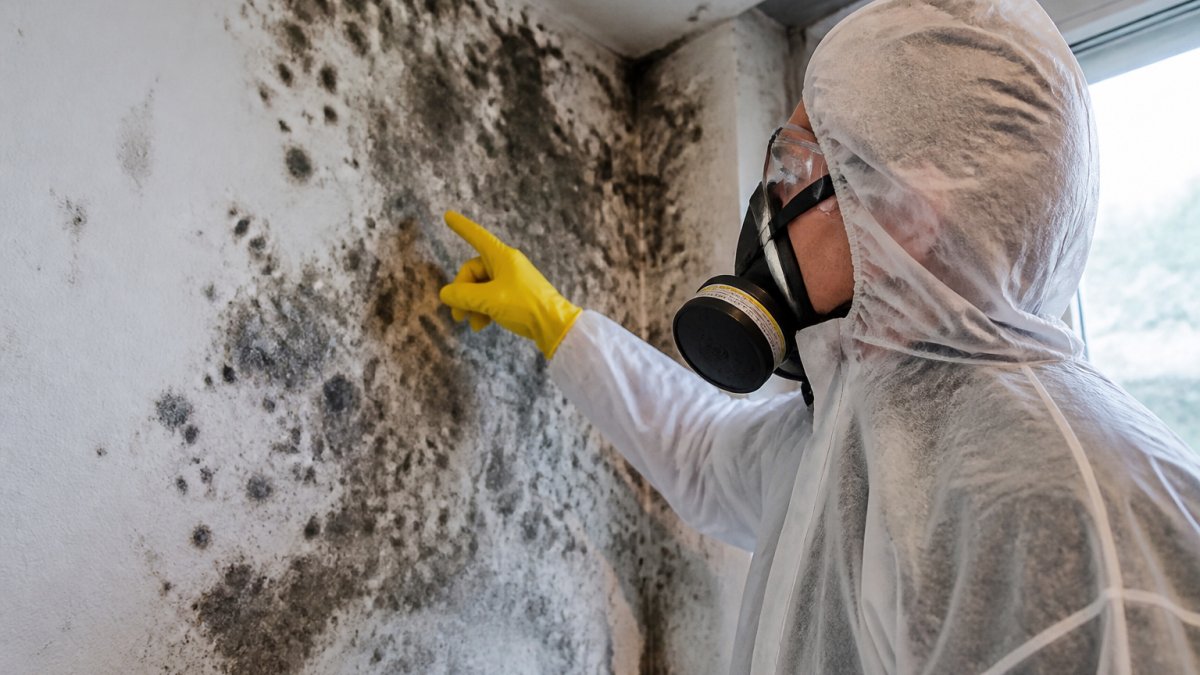
Mold often grows where you can't see it. Behind walls, in insulation, and under flooring, mold can spread for weeks before you notice. Learning to spot the early signs of mold growth behind walls helps you catch problems before they become major.
Signs of hidden mold include:
- Musty, earthy smell that won't go away
- Visible discoloration on walls or ceilings
- Soft or spongy drywall
- Peeling paint or wallpaper
- Water stains that reappear after drying
- Allergic reactions or respiratory symptoms
Step 5: Improve Ventilation and Prevent Recurrence
Preventing mold recurrence means keeping humidity low permanently. Ventilation and dehumidification must continue even after the initial crisis passes. Many homeowners stop their drying efforts too soon, only to have mold return months later.
Permanent ventilation improvements include:
- Running exhaust fans in bathrooms and kitchens
- Opening windows regularly to exchange indoor and outdoor air
- Installing or upgrading HVAC systems to improve air circulation
- Sealing air leaks that trap moisture
- Adding insulation in crawl spaces to reduce condensation
When to Call Professional Mold Remediation Services
Some water damage situations require professional mold remediation. DIY cleanup works for small, visible mold on hard surfaces. But extensive mold growth, mold in HVAC systems, or mold in structural materials needs professional treatment.
Call a professional mold remediation service if:
- Mold covers an area larger than 10 square feet
- Mold is growing in HVAC ducts or insulation
- You see mold behind walls or in crawl spaces
- Mold returns after you've cleaned and dried
- You have health symptoms (respiratory issues, allergies) tied to mold exposure
- The initial water damage was from contaminated water (gray water or black water)
Professional remediation includes:
- Full structural assessment and moisture mapping
- Containment to prevent mold spores from spreading
- Removal of heavily contaminated materials
- Treatment of remaining materials with antimicrobial solutions
- Post-remediation air quality testing
- Documentation for insurance claims
Frequently Asked Questions
How long does it take for mold to grow after water damage?
Mold can begin growing within 24 to 48 hours after water damage occurs, depending on temperature, humidity, and the type of surface. In warm, humid conditions, fungal growth accelerates. This is why immediate water extraction and drying are critical, every hour of delay increases the risk. Black water (contaminated water) poses the highest mold risk and requires professional remediation.
What are the signs of mold growth behind walls?
Look for discoloration, dark spots, or fuzzy growth on visible surfaces. Behind walls, warning signs include musty odors, water stains, peeling paint, and soft or spongy drywall. If you suspect mold in hidden areas, use a moisture meter to check relative humidity levels above 60%, or contact a professional for inspection. Early detection prevents structural damage and health risks.
Can I clean up water damage myself, or do I need professional water extraction services?
Small spills (under 10 square feet) can sometimes be handled with proper PPE and HEPA vacuums. However, most water damage requires professional extraction equipment, structural drying expertise, and disinfection to prevent mold. Professionals use moisture meters and dehumidifiers to ensure porous materials dry completely. Professional services also document the damage for insurance claims and guarantee safety standards.
What household products kill mold spores after water damage?
Bleach solutions (1 cup per gallon of water), white vinegar, and hydrogen peroxide can kill surface mold on non-porous materials. However, these do not address moisture in porous materials like drywall and subfloor, where mold roots grow. For comprehensive remediation, antimicrobial treatments and biocide applications by professionals ensure complete mitigation and prevent recurrence.