 how-to
Emergency Fire Damage Restoration Houston: Step-by-Step
Table of Contents
- What to Do in the First 24 Hours After a Fire
- How the Fire Damage Insurance Claim Process Works
- The Fire Damage Remediation Timeline: What to Expect
- Professional Smoke Odor Removal Services Explained
- Cleaning Smoke Residue From Walls and Surfaces
- DIY vs. Professional Fire Damage Restoration: A Cost-Benefit Look
- Frequently Asked Questions
Last Updated: September 14, 2026
What to Do in the First 24 Hours After a Fire
The first 24 hours after a house fire set the ceiling for everything that follows. According to the U.S. Fire Administration, residential fires still account for the majority of fire deaths and billions in property loss each year, and much of the avoidable damage happens after the flames are out. Homes that could have been saved with faster action can end up with smoke tar bonded into drywall and third-hand smoke embedded in insulation. This guide from Disaster Services walks through emergency fire damage restoration step by step, from the first safety check to the final coat of stain-blocking primer.
The clock on smoke damage starts ticking the moment the fire is extinguished, not when you call a contractor.
Safety Checks Before You Re-Enter
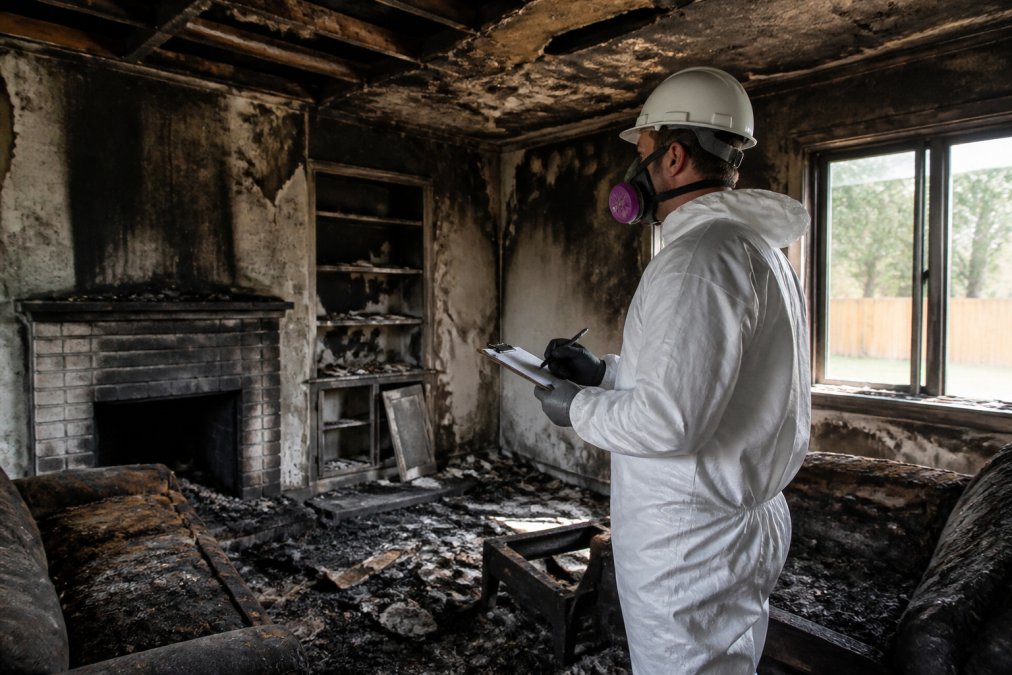
Do not re-enter until the fire department has cleared the structure. Even then, soot hides structural damage, and charred floor joists can fail underfoot.
Check for these before you take a single step inside:
- Gas odors or hissing near the meter (call the utility first)
- Sagging ceilings or bowed walls
- Standing water near electrical panels
- Broken glass and debris on walking paths
Wear a respirator rated for particulates, not a dust mask. Fire residue carries volatile organic compounds and fine ash that irritates lungs on contact (the CDC).
Documenting Damage for Your Claim
Photograph everything before anyone moves it: wide shots of each room, then close-ups of damaged items, serial numbers, and receipts.
A common mistake is throwing away ruined items before documenting them. Your adjuster needs evidence, and so does any appeal. Keep a running inventory with dates, descriptions, and estimated values.
How the Fire Damage Insurance Claim Process Works
The fire damage insurance claim process moves through four stages: filing, adjustment, negotiation, and payout. Most homeowner policies cover dwelling repair, personal property, and additional living expenses, but specifics depend on your policy language.
File promptly. Most insurers expect notice within a reasonable window, and delaying can complicate coverage. The Texas Department of Insurance publishes consumer guidance on homeowner claims and the timelines insurers are expected to follow.
Working With Your Adjuster
Your adjuster works for the insurer, so their estimate reflects the carrier's interests.
You can bring your own documentation. A contractor's scope of work, photos, and a written inventory give you a factual basis for negotiation, and a restoration company that handles claims regularly can communicate in the adjuster's language.
The Fire Damage Remediation Timeline: What to Expect
Fire damage remediation typically runs from a few days for a contained kitchen fire to several weeks when structural framing, HVAC, and insulation are involved. The fire damage remediation timeline breaks into five phases:
| Phase | Typical Duration | What Happens |
|---|---|---|
| Emergency board-up and tarping | Same day | Secure the structure, stop water intrusion |
| Water extraction and drying | 2-5 days | Remove firefighting water, run dehumidifiers |
| Soot and residue cleaning | 3-7 days | HEPA vacuuming, wall washing, degreasing |
| Odor neutralization | 2-5 days | Thermal fogging, ozone, activated charcoal |
| Sealing, priming, and rebuild | 1-4 weeks | Stain-blocking primer, drywall, paint, trim |
Timelines shift with square footage, how long the smoke sat, and whether water damage is also in play. A fire knocked down in minutes behaves very differently from one that smoldered in a wall cavity for an hour.
Professional Smoke Odor Removal Services Explained
Smoke odor removal services target the source, not the smell. Masking agents and air fresheners do nothing for third-hand smoke trapped in drywall, carpet padding, and ductwork. Odor molecules attach to residue, and until that residue is gone or sealed, the smell returns every time humidity rises.
Professional crews use a layered approach, and the order matters as much as the tools.
The Layered Treatment Sequence
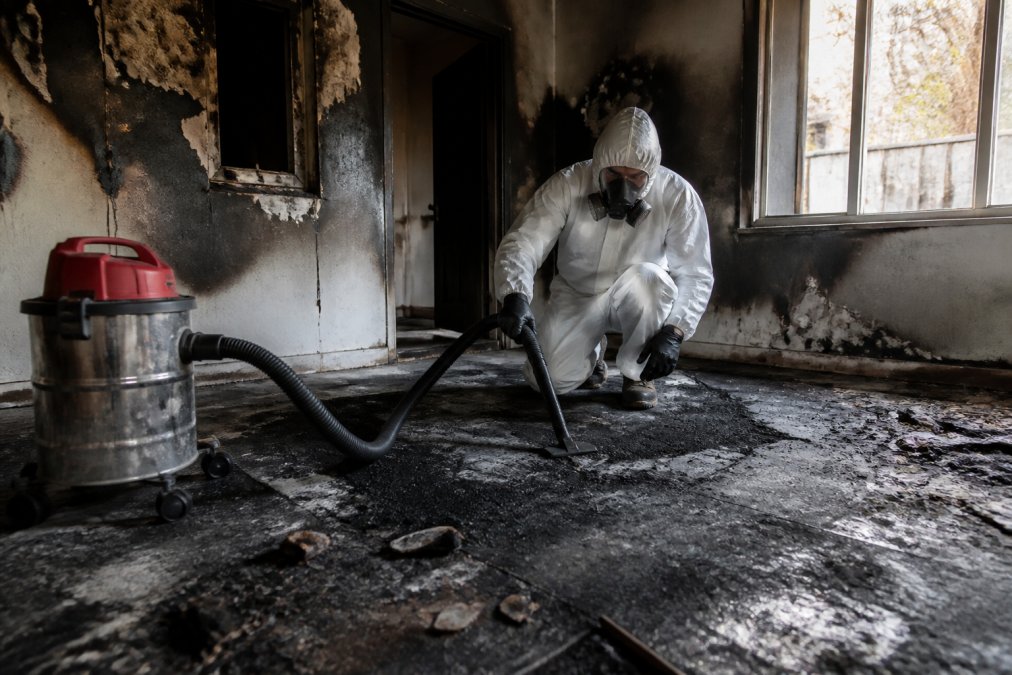
1. Source removal first. HEPA vacuuming of all surfaces, followed by wall washing and residue removal. Odor treatment on top of uncleaned surfaces is wasted money, the residue keeps off-gassing.
2. Thermal fogging. A solvent-based fog is pushed into cavities, behind baseboards, and into wall voids to reach residue a rag can't. It's used on porous materials and in spaces where smoke traveled but cleaning access is limited. The space must be unoccupied during and immediately after treatment, and ventilated before re-entry.
3. Ozone generators. Ozone oxidizes odor molecules in unoccupied spaces, and it carries real safety stakes: ozone is a lung irritant, so no people, pets, or plants in the space during treatment. Run the generator for the period specified by the equipment manufacturer, typically hours, not minutes, then ventilate thoroughly before anyone re-enters. Never run ozone in an occupied home, and don't rely on the "fresh smell" after treatment as proof the space is safe; ozone's sharp smell can mask other odors and irritate airways.
4. Activated charcoal and hydroxyl generators. For residual odors in enclosed areas, activated charcoal absorbs what's left. Hydroxyl generators are a slower alternative to ozone for occupied-space treatment.
5. Air purification during and after. HEPA and carbon filtration run continuously during the job and for a period after to capture particles the cleaning kicked up.
Matching the Method to the Damage
Not every fire needs every tool. A contained kitchen fire with no ductwork involvement may only need cleaning plus a light fogging. A fire that smoldered in a wall cavity or traveled through HVAC typically needs the full sequence, including duct cleaning and possibly flex duct replacement.
Synthetic materials, plastics, foam, treated fabric, produce a heavier, more persistent residue than natural materials. If the fire involved synthetics, expect odor treatment to take longer and to require more aggressive methods.
Verifying the Odor Is Actually Gone
After treatment, close the house up for 24 hours, then walk in from outside air. If you smell smoke, the treatment didn't fully address the source. A second pass, sometimes a second fogging or additional sealing, is normal on heavy losses. For a definitive answer, professional air quality testing measures volatile organic compounds and particulate levels against outdoor baseline. Sealing and priming should happen only after the odor is verified gone.
Cleaning Smoke Residue From Walls and Surfaces
Cleaning smoke residue from walls follows one rule: match the cleaner to the surface, and test in a hidden spot first. Smoke tar is acidic and oily, so an alkaline cleaner does most of the heavy lifting. What most guides flatten into a single "wash the walls" step is actually four jobs depending on the wall material.
Surface-Specific Cleaning Protocols
Painted drywall. The most common surface after a fire and the most forgiving. Mix trisodium phosphate (TSP) per the package ratio, a few tablespoons per gallon of warm water for light residue, stronger for heavy tar. Work top-down in 4-foot sections, rinse before the solution dries, and change rinse water often. Drywall paper fuzzes if it stays wet, so don't soak it.
Plaster. Older plaster walls are porous and alkaline-sensitive. Use a milder TSP dilution and a soft sponge rather than a brush. Plaster cracked from heat needs a structural assessment before cleaning, cleaning a failing wall wastes the effort.
Wood paneling. Real wood paneling with a factory finish cleans like sealed trim: mild detergent, damp cloth, dry immediately. Unfinished or oiled paneling is a different problem, the smoke soaks in, and surface cleaning only lifts the top layer. Encapsulation with a shellac primer is usually the realistic fix.
Wallpaper. Smoke bonds to the paper and the adhesive, and washing it usually lifts seams or smears residue into the pattern. Removing the wallpaper, cleaning the wall underneath, and priming is faster and produces a better result than trying to save it.
| Surface | Cleaner | Method | Watch Out For |
|---|---|---|---|
| Painted drywall | TSP solution | Sponge top-down, rinse, repeat | Paper fuzzing from over-wetting |
| Plaster | Diluted TSP | Soft sponge, gentle pressure | Cracks hiding structural loss |
| Sealed wood trim | Mild detergent | Damp cloth, dry immediately | Finish dulling |
| Unsealed wood | None | Replace or encapsulate | Residue bleeding back through |
| Brick and stone | TSP or alkaline cleaner | Soft brush, rinse | Efflorescence after wet cleaning |
| Wallpaper | None | Remove, clean substrate, prime | Seam lift, pattern smearing |
| Cabinets | Degreasing cleaner | Wipe, then rinse | Grease film left in crevices |
Natural Alternatives: What They Actually Do
A vinegar and water solution works for light residue on sealed surfaces and metal fixtures. A baking soda paste handles small stains on countertops and inside cabinets. Neither replaces TSP on heavy soot, vinegar is acidic and won't cut the alkaline-soluble tar the way TSP does. Treat natural options as a finishing wipe, not a primary cleaner.
Safety Protocols for Chemical Cleaners
TSP is a skin and eye irritant and is toxic if ingested. Wear nitrile gloves, sealed eye protection, and long sleeves. Ventilate the room, open windows and run a box fan pushing air outward, not recirculating it. Never mix TSP with bleach or ammonia; the reaction produces hazardous gas. Store mixed solution out of reach of children and pets, and dispose of it per your local water authority's guidance rather than pouring it down a storm drain.
If you're using a degreaser alongside TSP, read both labels before combining. Many degreasers contain solvents that react with phosphate cleaners.
Sealing and Priming After Cleaning
Sealing primer makes the difference between a home that smells clean and one that smells like smoke again in three months. After cleaning, apply a shellac- or oil-based stain-blocking primer to every smoke-exposed surface: walls, ceilings, subfloor, and stud bays.
Water-based primer won't block smoke tar. The residue bleeds through within weeks. Shellac-based primer locks the odor in, then you paint over it. Two coats on heavy residue, one on light.
Post-Cleaning Verification
Before you prime, verify the cleaning worked. Close the room up for a few hours, then walk in from outside air. If you smell smoke, the residue isn't fully lifted, clean again before sealing. Wipe a white cloth across a cleaned surface; if it picks up gray or brown, there's still tar. For a more rigorous check, a handheld particulate meter or professional air quality test can confirm whether volatile organic compounds have dropped to background levels. Sealing over unverified surfaces traps the problem instead of solving it.
DIY vs. Professional Fire Damage Restoration: A Cost-Benefit Look
DIY makes sense for a small, contained fire with limited smoke spread: a stovetop flare-up, a trash can fire, a single room with no structural damage. If you can see and reach every affected surface, with no water intrusion or HVAC contamination, you can often handle it.
Professional restoration is the better call when any of these apply:
- Smoke traveled through ductwork or into wall cavities
- Firefighting water soaked insulation or subfloor
- The fire involved synthetic materials (plastics, foam, treated fabric)
- You can still smell smoke after cleaning
- Your insurer requires documentation a contractor can provide
Cost depends on square footage, materials, and how much rebuild is needed, so pricing varies widely. Get a written scope and compare line items, not just the bottom line. Disaster Services offers a free visual inspection so you know what you're dealing with before you commit.
A house fire leaves you dealing with insurance paperwork, displaced family, and a smell that keeps coming back no matter how many times you scrub. Disaster Services is a locally owned and operated team available 24/7 across the Greater Houston area, with licensed and insured technicians who handle everything from emergency board-up and soot removal to smoke odor neutralization, sealing, priming, and full reconstruction. We also work directly with your insurer to document the loss and support your claim, so you're not coordinating five contractors on your own. Contact Disaster Services today for a free visual inspection and a clear plan for getting your home back.
Frequently Asked Questions
What neutralizes the smell of smoke after a fire?
Simple airing out will not remove smoke odor because tar and nicotine residue soak into porous surfaces like drywall, wood, and fabric. Professionals use hydroxyl generators or ozone generators for odor neutralization, plus activated charcoal for absorption. Surfaces must be cleaned with an alkaline cleaner first, then sealed with a stain-blocking primer. If the smell lingers after cleaning, the source is usually inside wall cavities or HVAC ducts.
How does the fire damage insurance claim process work?
You file a claim with your insurer, who assigns an adjuster to inspect the damage. Document everything with photos before any cleanup. Your policy's coverage for dwelling, personal property, and additional living expenses determines what gets paid. Keep every receipt. A restoration company can provide an itemized scope of work to support your claim. Most policies require you to mitigate further damage immediately, so emergency board-up and water extraction are typically reimbursable.
Can I stay in my home after a fire before professional cleaning?
Only if the fire was small, contained, and a fire marshal has cleared the structure as safe. Even then, soot particles and volatile organic compounds linger in the air and can cause respiratory issues. If the fire involved structural damage, electrical systems, or significant smoke spread, stay elsewhere until a professional inspection confirms air quality is safe. The fire damage remediation timeline starts with that safety clearance.
What is the difference between fire damage restoration and general cleaning?
General cleaning removes surface dirt. Fire damage restoration addresses smoke penetration into building materials, chemical residue from extinguishers, water damage from firefighting, and structural repairs. It includes odor neutralization with equipment like ozone generators, sealing porous surfaces with a stain-blocking primer, and verifying air quality after cleaning. Restoration also covers reconstruction, which standard cleaning services do not handle.